Installing the polycarbonate panels was an exercise in patience for both of us. Perhaps we had a little less (patience) due to the cold wind and tight timeline. Regardless, it got done, and if I do say so myself we did it well!
Greg started by cutting all the base profiles, then I added the gaskets. Greg then screwed the base profiles onto each upright 2x4.
 |
| Greg measuring... and measuring. |
 |
| Installing the first base profile |
 |
| I attached two strips of EPDM gasket to each base profile and cover profile. The whole time my mouth watered for black licorice. |
When that was done, Greg took accurate measurements of each opening. The heights were all the same on this wall, but the widths varied slightly. Next he got to work cutting the panels with a table saw. Once cut, we blew out the little shavings with compressed air. Cutting the
panels makes quite a mess with little static-y bits everywhere so we found it best to keep the cutting and prep areas separate. Greg also had to cut all the U profiles to the same width as the panels.
 |
| the bare panel, ready to be prepped |
Then everything was ready to be prepared for install! I peeled the protective films back about 6", wiped off any debris and added the aluminum vent tape to the top and bottom edge.
 |
| adding the aluminum vent tape |
I tapped the UA Edge profile on with a rubber mallet (those tougher than me could do this by hand). I also made sure the fit was good, and that the black side would be facing out along with the UV protected side of the panel.
 |
| the finished panel |
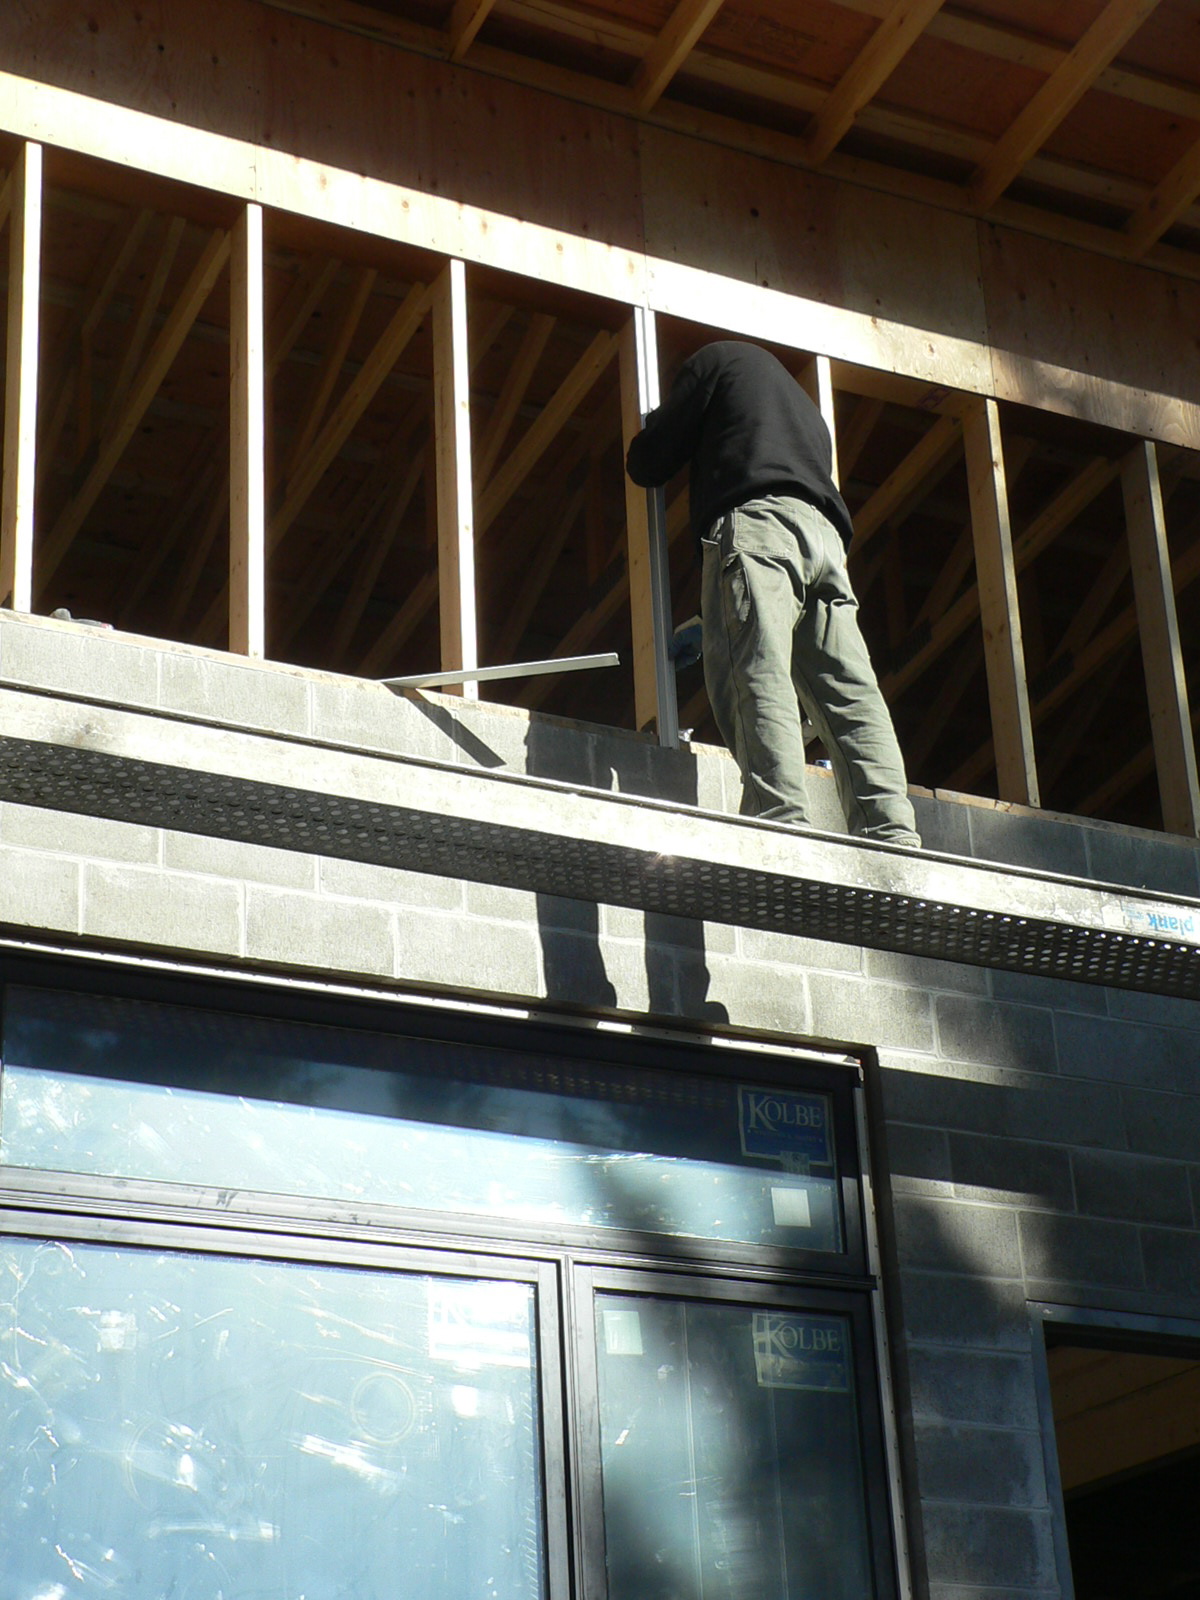
Greg then took the panels up the scaffolding and installed them. Initially he had some difficulty getting the screws to puncture the aluminum while up against the wall, so he screwed them in partway before attaching the cap profile to the wall. Then he held all the pieces in place and screwed the cap in place. This compresses the panels between the gaskets which makes them watertight. We decided to leave all the cover profile pieces off until we are sure we will not need to make adjustments.
 |
| the first two panels in place, with the cap profile installed |
 |
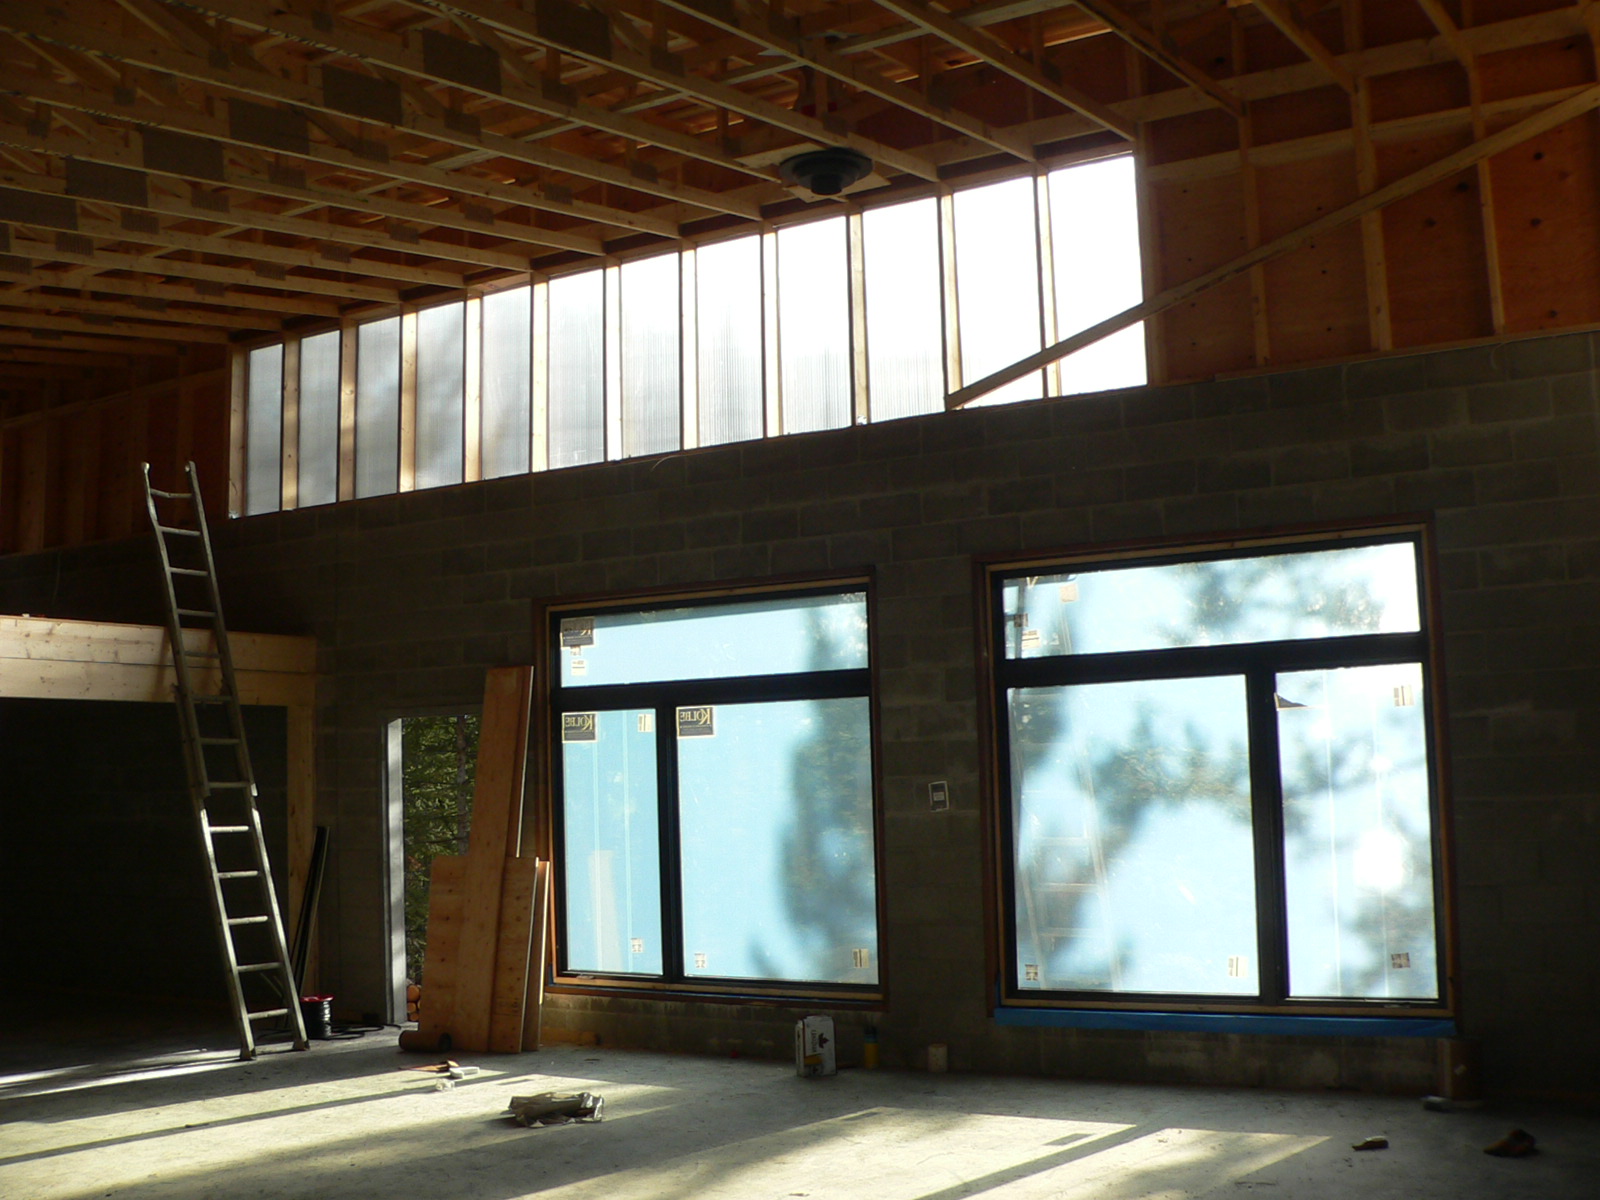
the view from inside... see the lovely translucency of the panels?
ignore the gap at the top, Greg fixed that.. |
 |
| The finished panels from the inside - just look at that gorgeous light! |
 |
| The finished panels from the outside. Yes, we're missing the Left edge piece, Greg couldn't quite reach from the scaffolding. On the list for another day. As you can see it is cleverly tuck taped down.. |
You may remember that we had planned on having the panels stretch the length of the wall, but when the trusses went up we discovered that a shear wall was required on either side of the panels to stabilize the roof. This has left us with quite an asymmetrical wall. I think we'll be able to balance it out with some of the exterior details, and that it will ultimately lead to a more interesting facade. Better to have a sturdy house than a pretty one (that's what i'm told...)!
 |
| The panels from the outside. The cover profile had not yet been added, so you can see where we screwed through the top to compress the whole system together. |
We ran short of a few pieces due to the reconfiguring of our panel layout. We decided to use the panels that would have been on the south wall (but got eliminated with the addition of the shear walls) to the east and west walls. The sides are slightly angled, and splitting the panelled areas up resulted in needing more "end" pieces. So, the remaining pieces are en route and will be installed upon arrival. Had I thought ahead and ordered 10% extra to allow for waste and mistakes we may have had enough. I don't know why I forgot to do that, but I did... one more lesson learned.
And so, the next time we install polycarbonate panels, it will be a piece of cake! We actually do have a stack in storage which we plan to use inside.. but you will have to wait and see!


No comments:
Post a Comment